传家美作:以文化弘扬家道,作金传之。 “传家”场景:喜事,闲趣,交情(立业),团圆; “美”:美在文化,美在技艺,美在形态,美在意韵; “作”(品类):黄金饰品,黄金器皿,黄金把玩; ——工艺:以手工为主,可量产 ——产品特点:每一件产品皆有出身「文化」
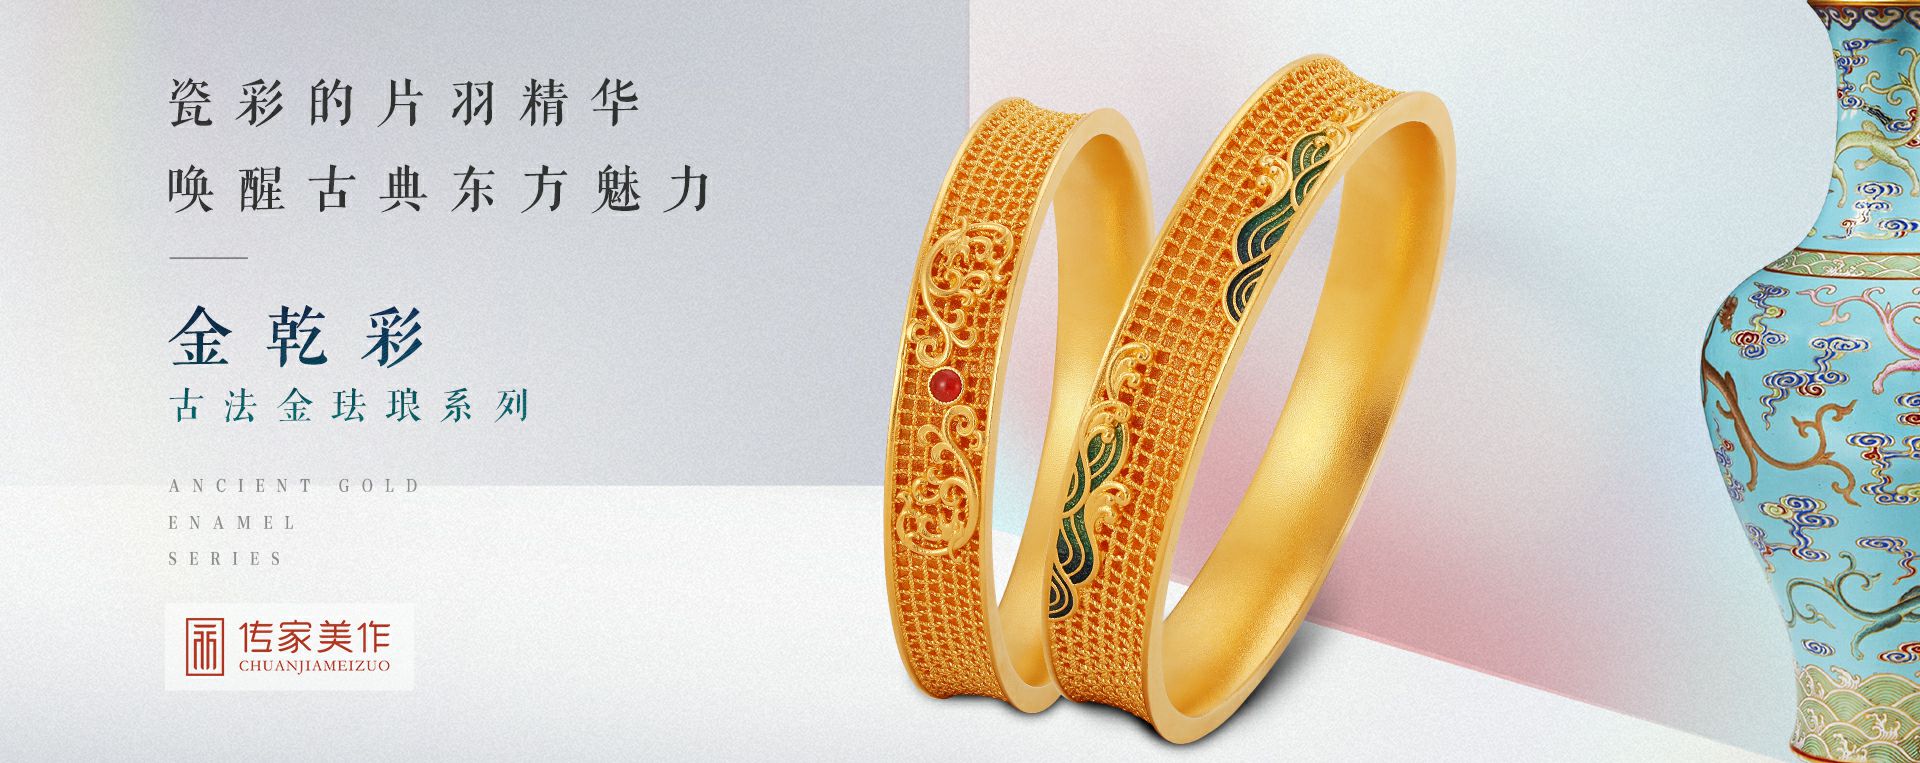
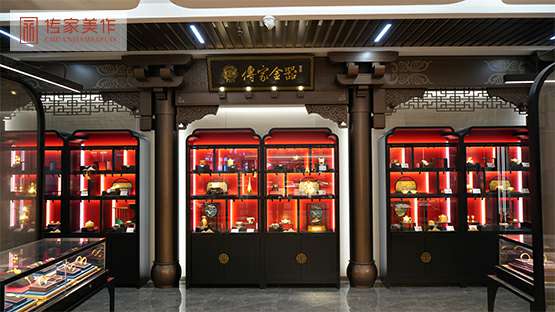
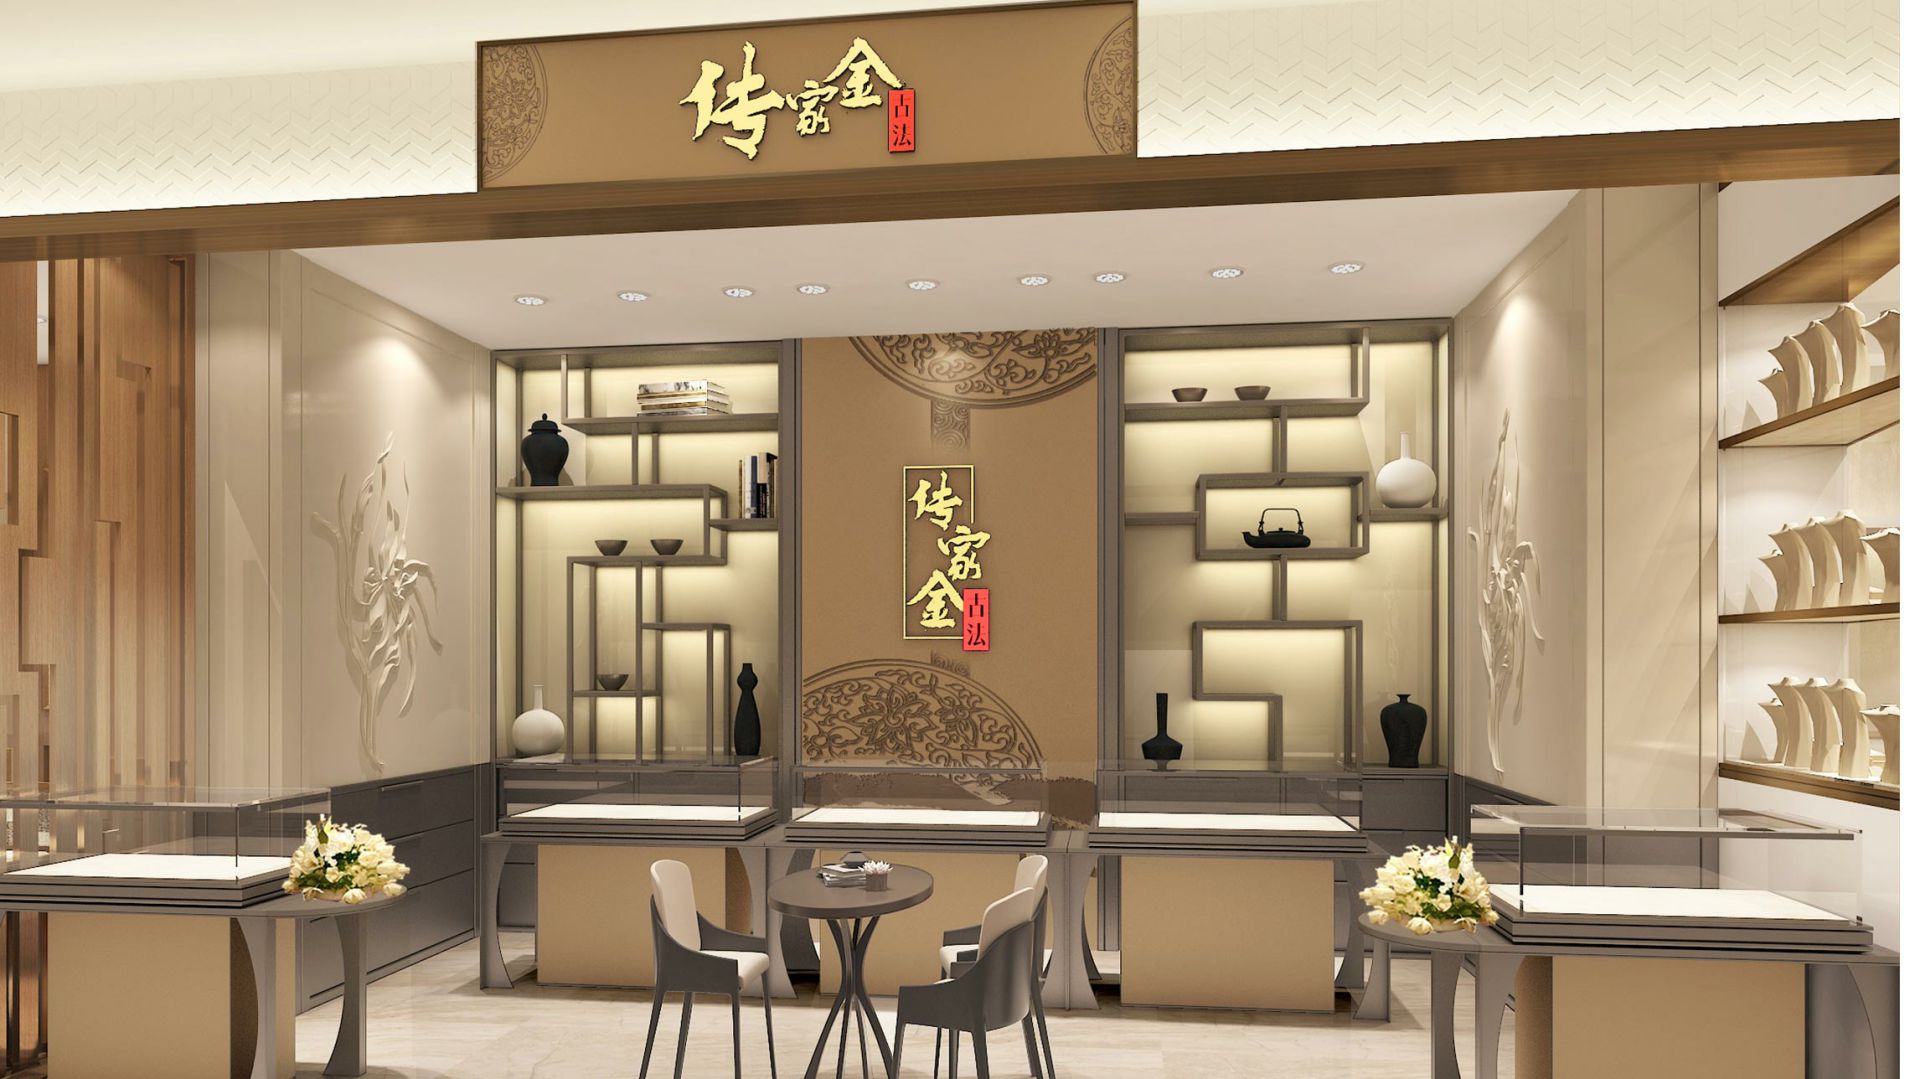
传家金(古法):坚持“经典、极致”的品牌理念,潜心打制具有“经典工艺价值”和“传世传承价值”的中国古法手工金器,完美诠释中国传统经典审美,执着“让每一个家庭都拥有一款可以传世的传家金”。
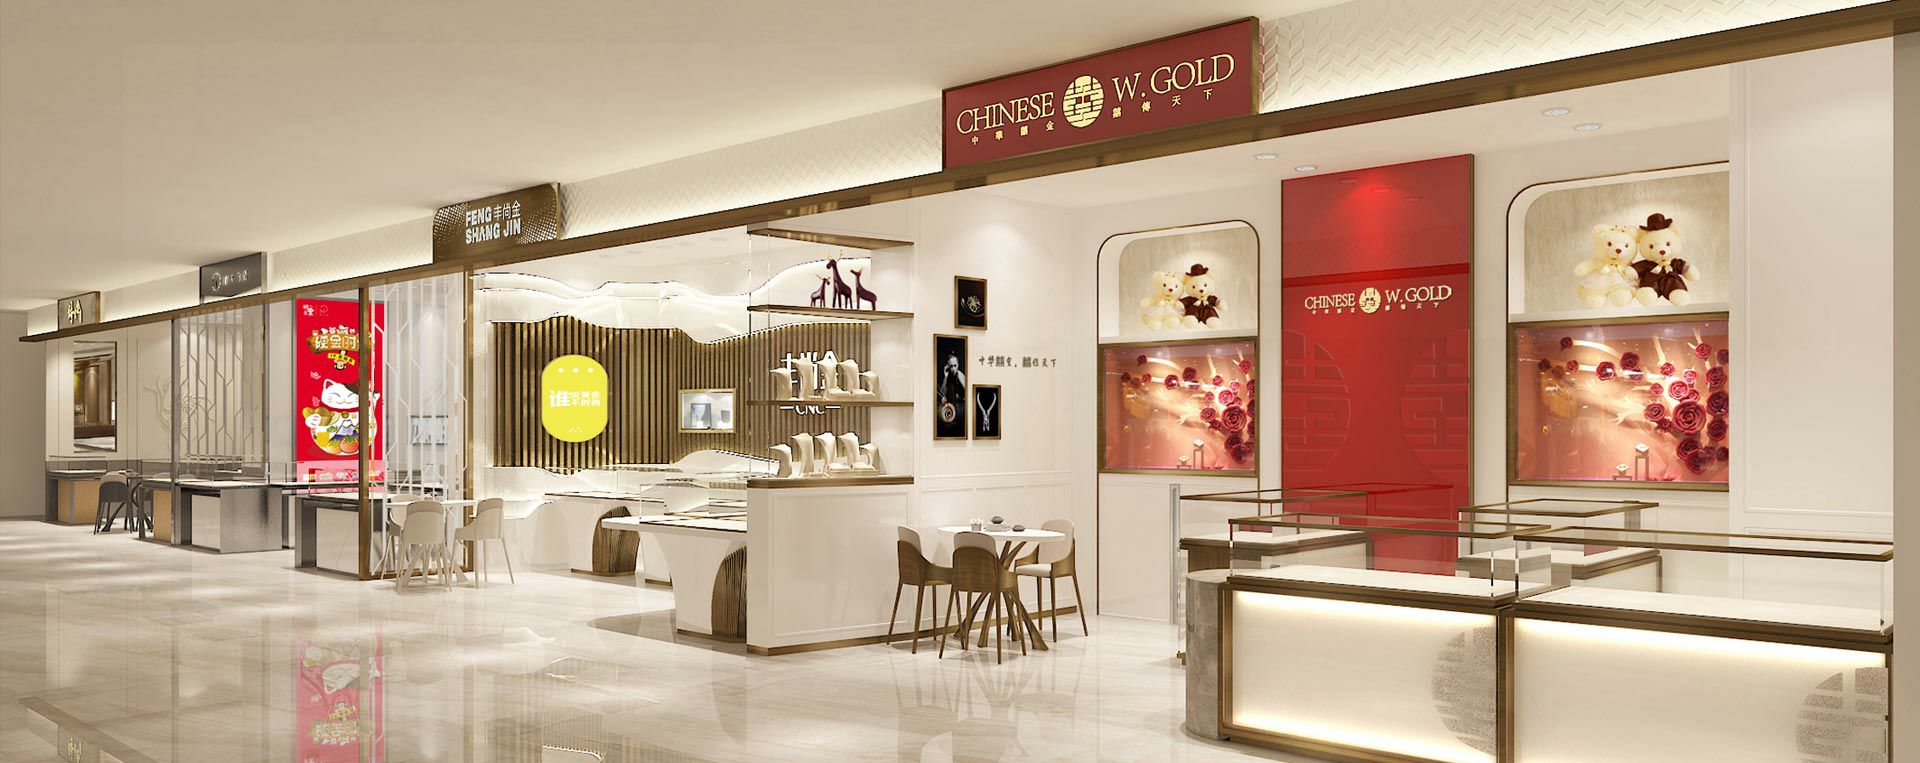
丰尚金:打造‘谁说黄金不时尚’的理念,向一切不可能Say No。针对目前80、90人群定位,推出精品黄金。产品设计以工艺精、克重小、为主导,打造电商平台及计件黄金产品概念,符合时下轻奢、时尚主义的流行趋势。 精品系列黄金,更为精致时尚。 克重小、工艺精、更易于售卖,款式更加符合现下年轻人的时尚 精品黄金,符合电商平台及计件黄金产品概念。
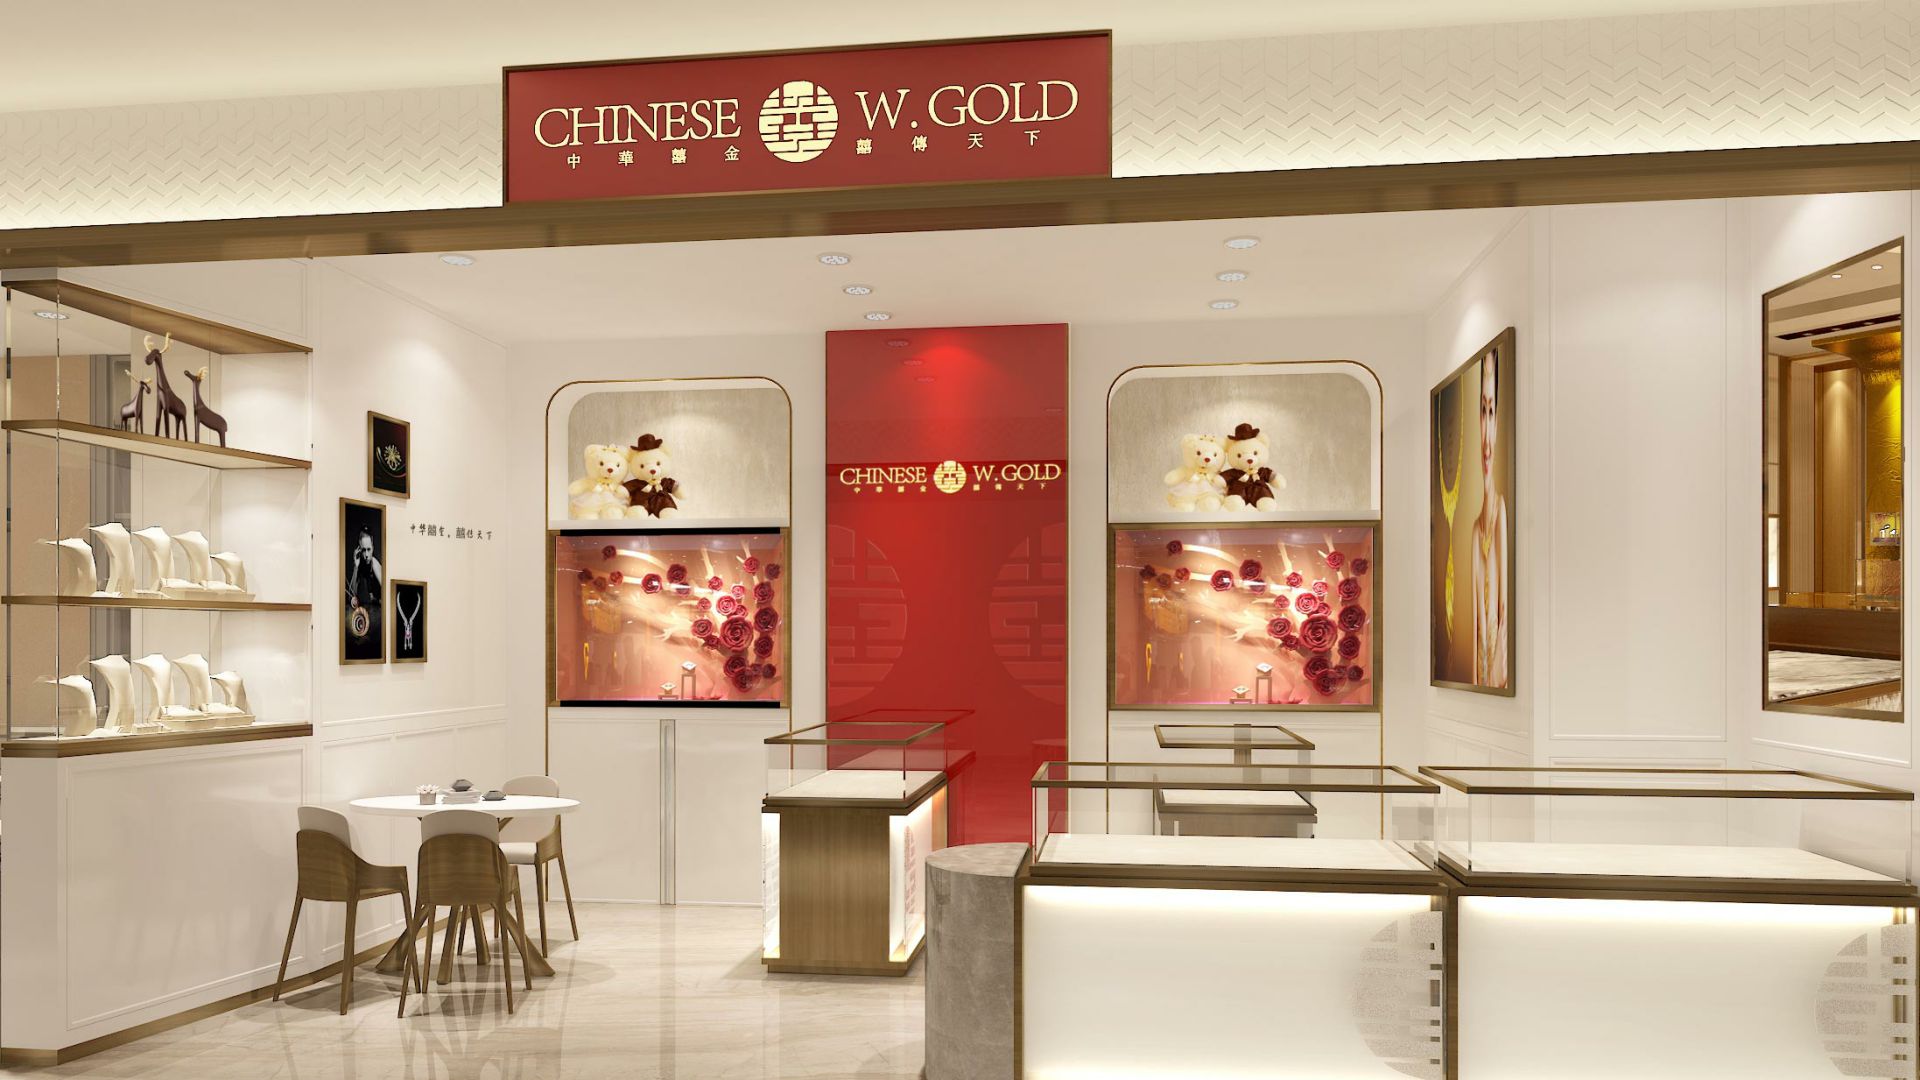
有金有囍,囍传天下。囍,指婚姻中男女双方共吋迎接喜庆的一天,囍缘金妆,因缘结为囍,点金伴为妆,犹如人生爱情三部曲:相识、相伴、相守,体现出在情侣爱恋类、婚庆婚嫁类、婚后纪念类的三级产品消费架构。 婚庆饰品未来的主流消费人群以90、00后为主,就新时代流行趋势而言,传统的猪牌、龙凤等款式已经满足不了当下婚庆需要,“中华囍金”款式设计不拘一格、时尚新颖,更加注重新时代对时尚婚姻和品质的追求。产品风格独树一帜,别具匠心,见证精致、个性、时尚的浪漫爱情。
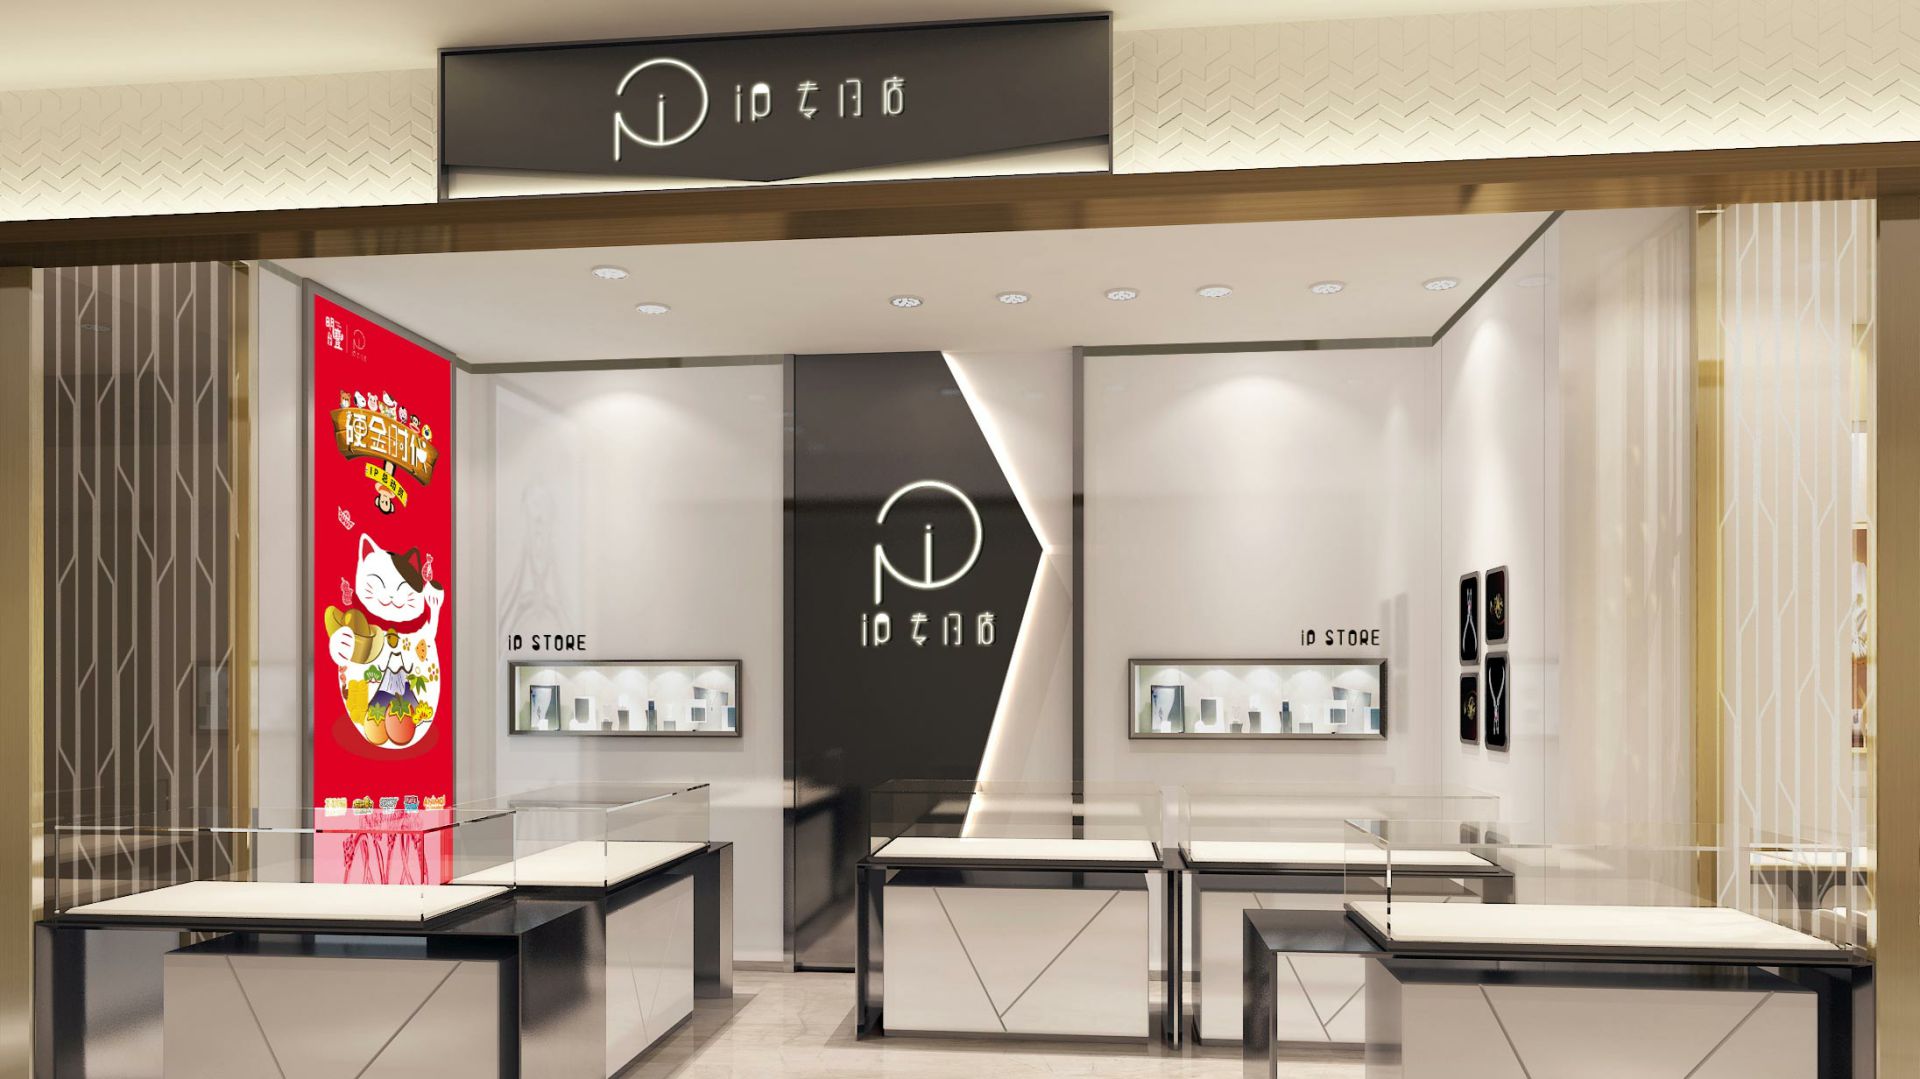
G22恒峰官方网站-恒峰(中国)IP STORE专门店是以IP硬金为主的硬金专门店,拥有招财猫、史努比、大嘴猴、动物大联盟、招财童子等正版授权IP,IP硬金产品具有鲜明的风格特色和形象识别度,以其强大的粉丝聚合力和品牌文化,打造极具特色、品牌化、精细化的IP硬金产品。
拥有先进的硬件设施和研发设计团队,保障产品的高标准、高质量、原创性、时尚性。工厂拥有最新的自动化生产机械、cnc(数字化控制机器)、精雕机、离子交换机、激光雕刻凹版技术、自动注蜡生产线;产品注重精品精工;以生产制造精品黄金作为工厂的核心竞争力。
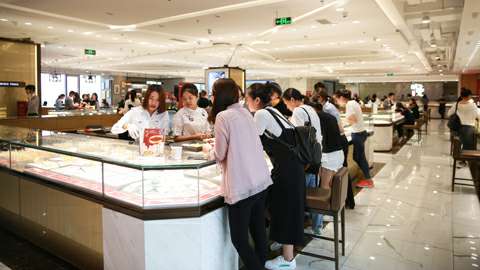
公司拥有2000平方米的现货展厅,提供黄金、K金珠宝批发、订单生产、来料加工、品牌运营等一体化黄金珠宝配套服务。
")